There are two ways to add an image to your website.
The first way is to upload an image from your computer or network.
UPLOAD AN IMAGE - STEP 1
Modify your entry and select the "Browse" button.

UPLOAD AN IMAGE - STEP 2
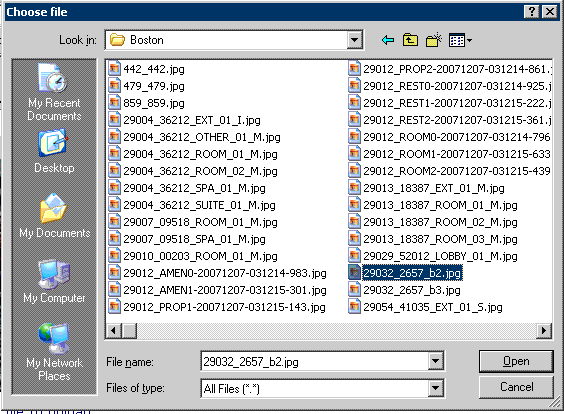
Browse for an image on your computer or network. Square images work best.

UPLOAD AN IMAGE - STEP 3
Press the "Attach Image Now" button. Wait for the screen to refresh. You will see a red "Image Uploaded" message next to the "Browse" button indicating that the image has been read from you computer or network.

UPLOAD AN IMAGE - STEP 4
Save your changes by pressing the "Submit" button.

The second way is to enter an image URL from your website. This method allows you to associate up to 10 images to your entry.
ENTER AN IMAGE URL - STEP 1
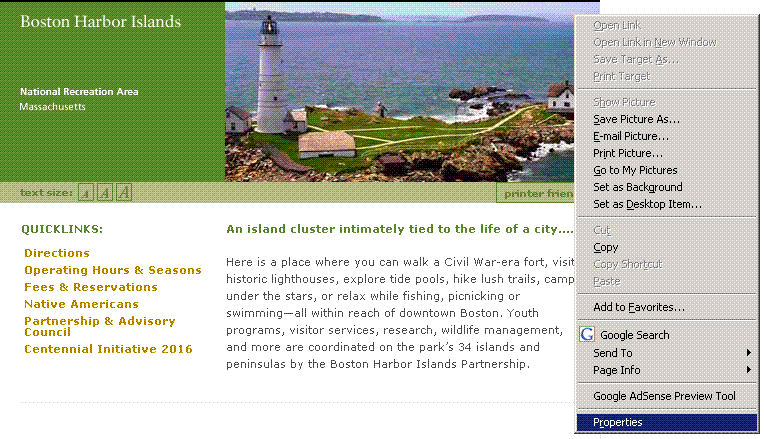
Find an appropriate image on your website. Square images work best. Using your mouse, right click on the image. A window will popup similar to the one below. Click the "Properties" link.

ENTER AN IMAGE URL - STEP 2
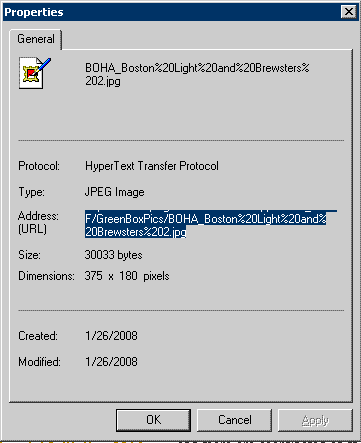
Copy the "Address (URL)".

ENTER AN IMAGE URL - STEP 3
Modify your entry and paste the Address (URL) into any one of the 10 "Image Location" fields.

ENTER AN IMAGE URL - STEP 4
Save your changes by pressing the "Submit" button.

|


